Portrait photography is a powerful medium that captures the essence of a person. However, the magic of a portrait often lies not just in the subject but in the lighting that surrounds them. Lighting can create mood, highlight features, and evoke emotions, transforming an ordinary photograph into an extraordinary work of art. In this blog, we will explore various strategies to enhance your portrait photography using lighting. From understanding the basics to experimenting with creative ideas, we will guide you through the journey, ensuring you harness the power of light to elevate your portraits to new heights.
Understanding the Basics of Portrait Photography Lighting
The Role of Natural Light
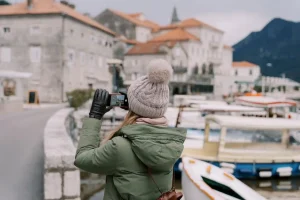
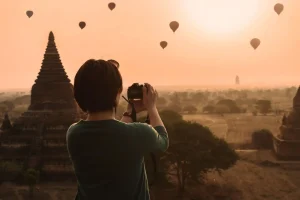
Natural light is one of the most beautiful and versatile sources for portrait photography. It has a unique quality that can be both soft and harsh, depending on the time of day and weather conditions. The golden hour, which occurs shortly after sunrise and just before sunset, offers a warm, soft light that beautifully enhances skin tones and creates a flattering ambiance. Photographers should take advantage of this time to capture stunning portraits that seem to glow with life.
However, natural light can be unpredictable. Overcast days can create soft, diffused lighting, perfect for reducing harsh shadows. In contrast, midday sunlight can be unforgiving, casting strong shadows and creating unflattering highlights. Understanding how to manipulate natural light is essential. Positioning your subject strategically, using nearby reflectors, or finding shaded areas can help you control the light and create the desired effect.
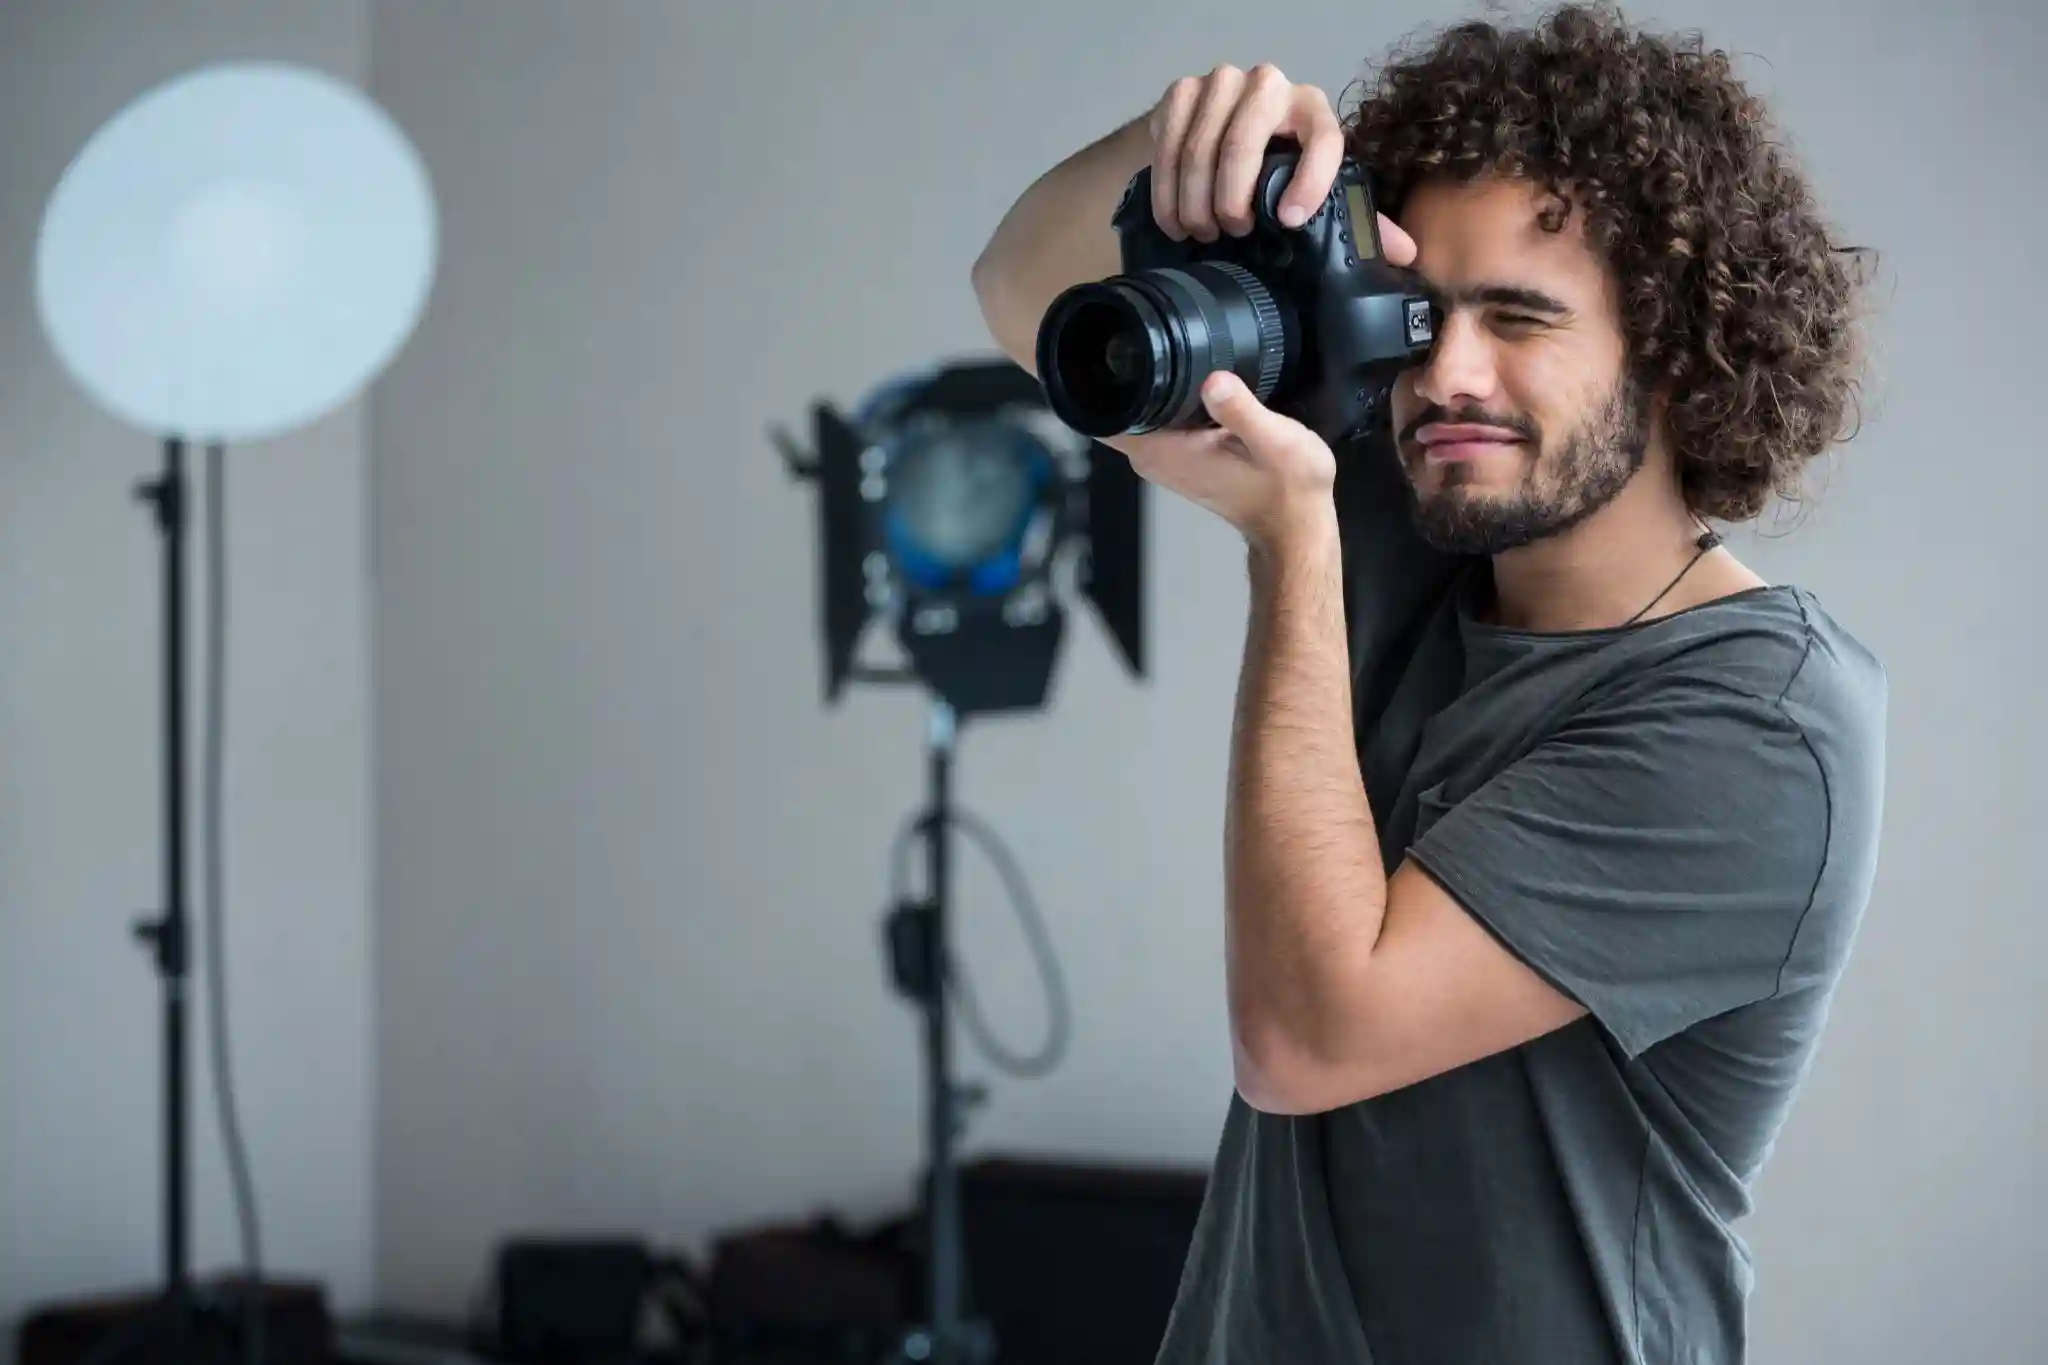
Artificial Lighting Sources
While natural light is a fantastic tool, artificial lighting opens up a world of possibilities. Artificial sources, such as softboxes, ring lights, and flashes, allow photographers to have greater control over their lighting setup. Softboxes diffuse the light, creating a soft, even glow that flatters the subject. Ring lights provide beautiful catchlights in the eyes and minimize shadows, making them ideal for beauty and portrait photography.
Techniques to Enhance Portrait Photography Lighting
Using Soft Light for Flattering Portraits
Soft light is a photographer’s best friend when it comes to flattering portraits. It reduces harsh shadows and highlights, creating a gentle, inviting image. To achieve soft light, consider using diffusers or reflectors. A diffuser can be as simple as a white bed sheet or a professional-grade diffusion panel. By placing the diffuser between the light source and your subject, you will create a softer, more flattering light that wraps around the subject’s features.
Reflectors are another excellent tool for enhancing soft light. They bounce light back onto the subject, filling in shadows and adding a pleasant glow. Gold reflectors can add warmth, while silver reflectors create a cooler tone. Understanding how to position these tools effectively will allow you to manipulate light and create stunning portraits that highlight your subject’s best features.
High-Contrast Lighting for Dramatic Effects
If you’re looking to create portraits with a sense of drama and intensity, high-contrast lighting is the way to go. This technique emphasizes the play of light and shadow, adding depth and dimension to your images. To achieve this look, use a strong key light positioned at an angle to your subject, while a fill light or reflector can be used sparingly to maintain some shadows.
The positioning of your lights is crucial. Aim for a setup that creates deep shadows on one side of the face while illuminating the other, allowing for striking visual interest. This technique can evoke emotions and highlight the subject’s character. However, be mindful of the balance; too much contrast can lead to loss of detail in the highlights or shadows. Experimenting with different angles and intensities will help you master this approach.
Creative Lighting Ideas for Unique Portraits
Backlighting Techniques
Backlighting can transform a standard portrait into something truly magical. This technique involves placing the light source behind the subject, creating a halo effect that can enhance the subject’s features and add depth to the image. To achieve this, position your subject with their back to a window or the sun. The light will illuminate their edges, creating a glowing outline.
Using Color Gels for Artistic Flair
Color gels are an exciting way to infuse creativity into your portrait photography. These transparent sheets can be placed over your light sources to cast vibrant colors onto your subject or the background. By experimenting with different colors, you can evoke specific moods and emotions in your portraits. For example, blue can create a cool, calm atmosphere, while red might convey passion or intensity.
Practical Lighting Setups for Portraits
One-Light Setup
For those just starting or looking for simplicity, a one-light setup is the perfect choice. This technique requires only one light source, making it ideal for beginners or when shooting on location. Position the light at a 45-degree angle to your subject, slightly above eye level, to create a natural and flattering look. This setup allows for beautiful shadows and highlights, giving depth to the portrait.
Two-Light Setup
For photographers ready to take their lighting skills to the next level, a two-light setup provides more control and versatility. This setup typically consists of a key light and a fill light. The key light is your main source, positioned to create depth and drama, while the fill light softens shadows and balances the exposure.
When setting up, place the key light at a 45-degree angle to your subject and slightly above eye level. The fill light should be positioned on the opposite side, at a lower intensity to avoid overpowering the key light. This arrangement allows for greater creative freedom, enabling you to experiment with different lighting ratios and effects. With practice, a two-light setup can elevate your portraits, allowing you to capture stunning images that resonate with your audience.
Post-Processing Tips for Enhancing Lighting
Adjusting Exposure and Contrast
Post-processing is an essential step in refining your portrait photography. After capturing your images, utilize software like Adobe Lightroom or Photoshop to make adjustments to exposure and contrast. Begin by ensuring that your subject’s face is well-exposed, adjusting the brightness to enhance details and prevent blown-out highlights.
Once the exposure is set, fine-tune the contrast to add depth to your image. Increasing contrast can help highlight the differences between light and shadow, making your portrait more visually striking. However, be cautious not to overdo it; maintaining a natural look is key. Balancing these adjustments will ultimately enhance the lighting effects you captured in-camera, resulting in a polished final image.
Color Correction Techniques
Color correction is crucial for achieving accurate skin tones and overall color balance in your portraits. Start by evaluating the white balance of your images; adjusting this can significantly impact the mood and feel of your portrait. Use the temperature slider to warm or cool the image as needed, ensuring that skin tones appear natural.
FAQs
What is the best time for outdoor portrait photography?
The best time for outdoor portrait photography is during the golden hour, shortly after sunrise or before sunset, when the light is soft and warm.
How can I create soft light for portraits?
You can create soft light using diffusers, reflectors, or by shooting on overcast days, which naturally diffuses sunlight.
What is the difference between a key light and a fill light?
The key light is the primary light source that creates the main illumination and shadows, while the fill light softens shadows created by the key light, resulting in a more balanced exposure.